Pack more minis per plate
Drag in a painted 3MF — one model or a whole multi-plate project — and get a tightly nested print bed back, ready to slice. Or drop sliced G-code and plan your color swaps: see exactly which filament to load at each pause. Free, private, and running entirely in your browser.
What's in your file
Per-part copies: a number, auto (fill the plate in your file's ratio), or 0 to leave a part out.
no_brim into the packed
file, so the slicer really lays none.
What you get
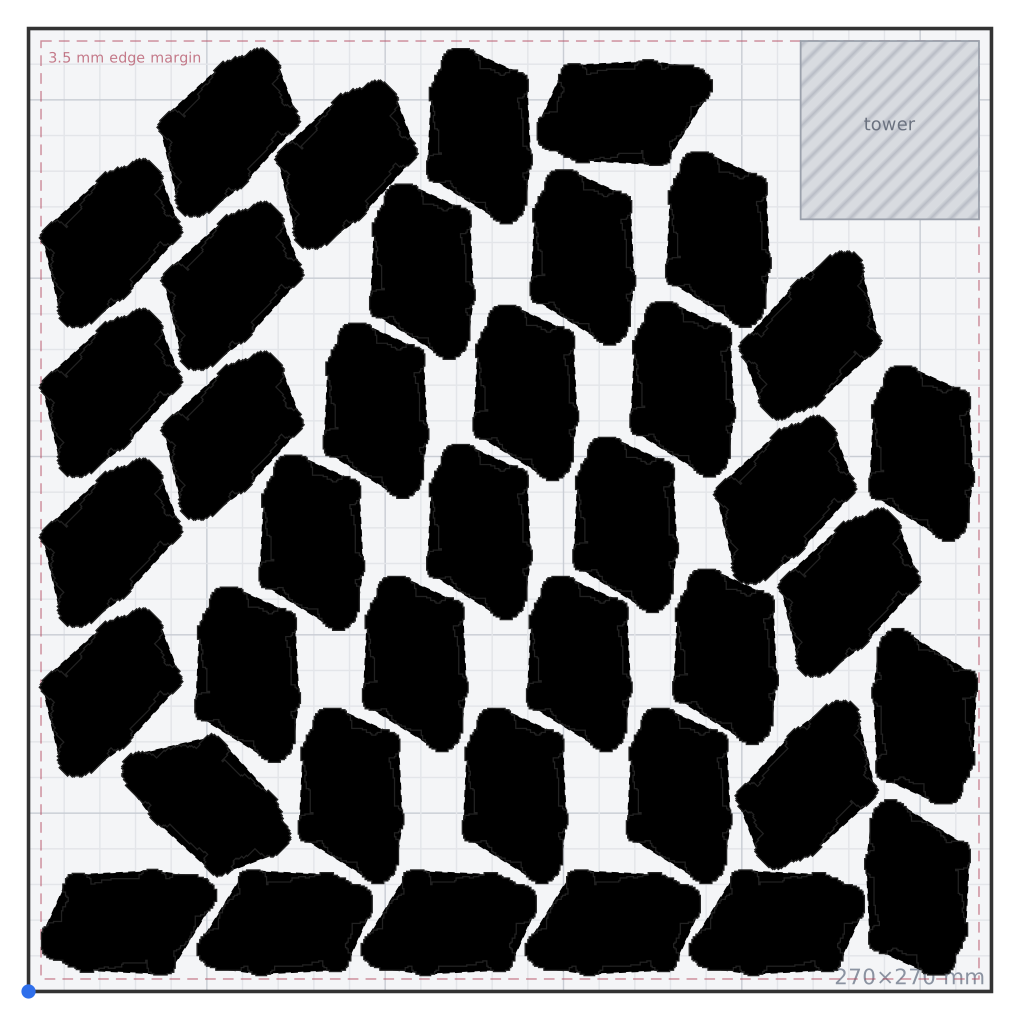
One model, many copies
- Export your painted model as a 3MF from your slicer.
- Drop it above, set your bed size and target height.
- Download the packed plate and slice it as usual — paint intact.
Multiple plates & different models
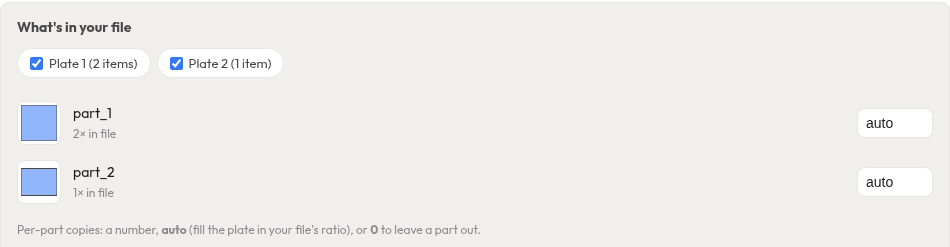
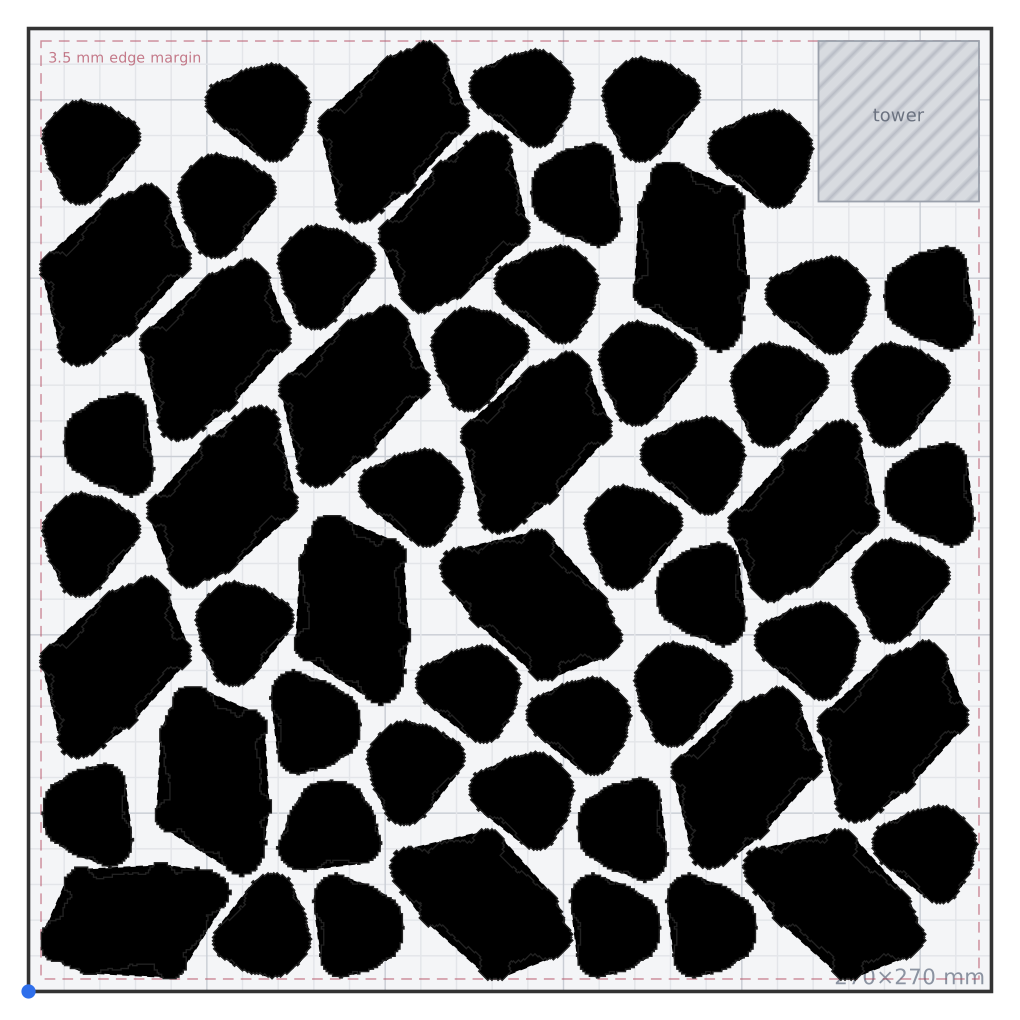
- Projects with several plates or several models work too — drop the whole file.
- A What's in your file panel appears: tick plates, set copies per part (or leave on auto to fill).
- Everything nests together on one bed, each model at its true relative size, colors intact.
What you get
Your exact swap plan
- Slice your multi-color plate as usual — more colors than toolheads is fine.
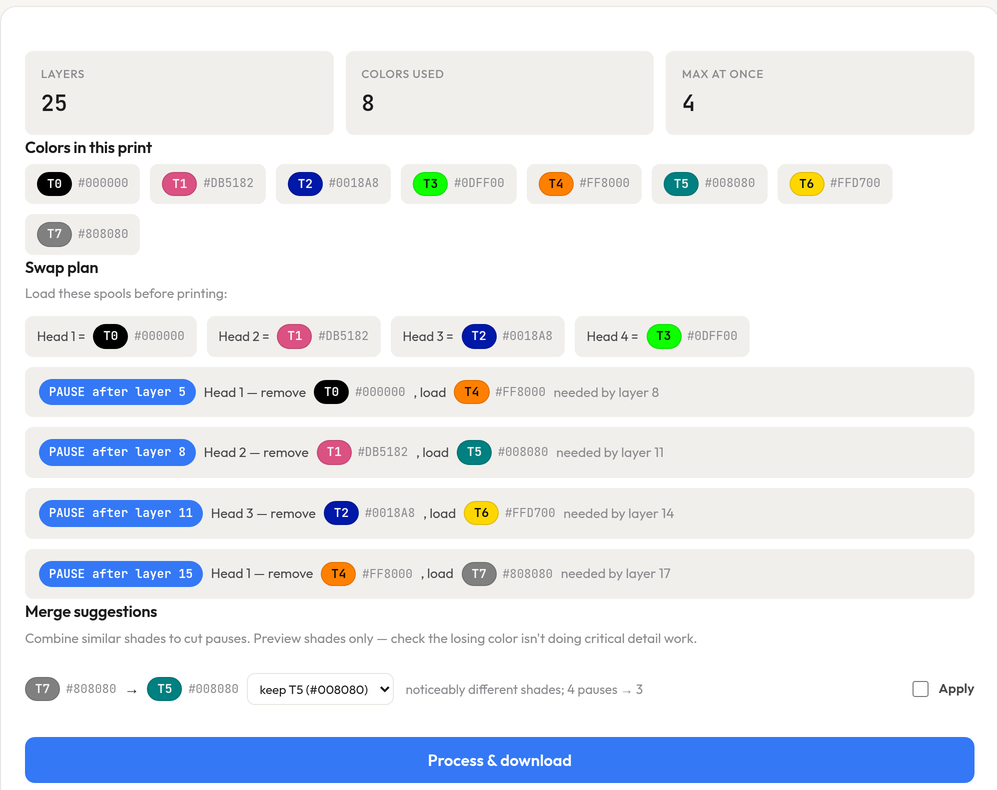
- Drop the G-code above: see which spools to load and exactly what to swap at each pause.
- Download the ready file — pauses and head mapping baked in.
Printing multi-color?
This tool was built around four-toolhead printing on the Snapmaker U1. If you're shopping, this link gets you 5% off anything in the Snapmaker store.
Affiliate link — costs you nothing extra and helps keep this tool free.
FAQ
Is this private?
Yes. Everything runs locally in your browser using WebAssembly — we never receive your file. There is no upload, no server processing, and no account. The only network request is the one-time download of the engine from a public CDN.
What printers does it support?
Packing works for any printer — just set your bed width and depth, and the layout keeps every part inside your edge margin whether you print on a 180×180 or a 350×350 bed. By default the packed file is set up to open as a native Snapmaker U1 project (with your model's filament colors carried over); switch Open as to Keep source printer if you'd rather it open on the printer it came from.
Why is there a prime-tower option?
Multi-color painted parts print with a prime tower to purge filament between color changes. Leave it on Auto and PackMyPlate reserves a corner sized from the number of colors in your model, so parts nest around it. Turn it Off for single-color prints.
Will my paint survive?
Yes. Paint data is copied through byte-for-byte — the packed file carries exactly the same per-triangle color attributes as your original.
Is the preview outline the actual model shape?
Yes — the solid shape is your model's true top-down silhouette, traced from the mesh itself (not just a bounding box). The faint dashed line around each part is the spacing envelope the packer keeps clear. Parts can and do nest into each other's gaps — between legs, under tails — whenever the spacing allows.
Why are my parts spaced further apart than the spacing I set?
Because your file prints a brim or supports, and those land on the bed
outside your model's outline. If two parts sit 2 mm apart but each grows a
5 mm brim, the brims overlap and the parts fuse into one lump — the plate is ruined.
With Print clearance on Auto (the default) PackMyPlate reads the
brim and support settings in your 3MF, works out how far each part really grows, and raises
the spacing and edge margin to match. The exact figures are shown in the panel above the
Pack button and again in the results. Set it to Off to pack tight anyway (you'll
get a warning), or Custom to dial the halo in yourself. If you never print brims,
set Brim: Off — that both packs tighter and writes
no_brim into the file you download.
How accurate is the clearance estimate?
The brim part is exact — it comes straight from brim_width in your file.
Supports are an estimate: tree supports lean outward as they climb, and how
far they reach is only knowable by actually slicing. We use your support settings plus an
empirical lean allowance measured against a real tree-support print. If your file is set to
auto brim, the slicer decides per object whether to lay one at all — we leave room
for it anyway, because a fused brim ruins a plate while an unused allowance just costs a few
parts.
How do I get parts packed even tighter?
Switch Packing to Max effort (slower, tighter) — it searches finer rotations (down to 15°) and every raster position, so interlocking parts (legs, tails) nest closer. It can take a minute or two on big models. Also lower the Spacing value (default 2 mm — try 1 mm if your printer's first layer is trustworthy) and reduce the Edge margin if your printer doesn't need it; spacing is usually what keeps legs apart.
What parses my files? What's the tech?
A pure-Python geometry engine running in your browser via WebAssembly (Pyodide).
3MF files are opened as the zip-of-XML they really are and G-code is parsed line by line —
all on your machine. You can read every line of the engine: it ships as plain Python files
your browser downloads (open DevTools → Network while packing, or fetch
/py/multipack/packing.py directly).
My 3MF has multiple plates or models — how do copies work?
Drop the file and a What's in your file panel appears: tick which plates to include, and set copies per part — a number, auto (fill the bed with every part in your file's ratio; this is the default), or 0 to leave a part out. Everything you keep is nested together on one bed, each model at its true relative size with its own colors. The main copies box still works too: blank or 0 fills the plate, a number means that many of each part.
What does “Color swaps” do?
Drop a sliced .gcode file and PackMyPlate reads which color prints on which layer. When a print uses more colors than your printer has toolheads, it works out a swap plan — which spool to load on each head to start, then exactly which filament to pull and load at each pause — and can inject the pause commands (M600 by default) and remap tools so the file runs on your machine. It even suggests merging near-identical shades to cut pauses. Same as nesting, it all runs in your browser and nothing is uploaded.